6 Tips of CNC Machining Tolerances
There are few things a machinist enjoys more than receiving a print, and seeing this: universal tolerance requirement is easy for any skilled and experience CNC machinists – Even they could mill the part with their eyes closed. Not a challenge at all. But then there are the positions that are a little more difficult. Add another zero, and you have 0.0005″. It’s a different story when you’re keeping five-tenths of though. That is the difference in thickness between a human hair and a white blood cell. Not all machinists could handle this case , it depends on the expertise ,experiences ,fixture ,cutting tools ,machines …factors .

What is Tolerance in CNC machining?
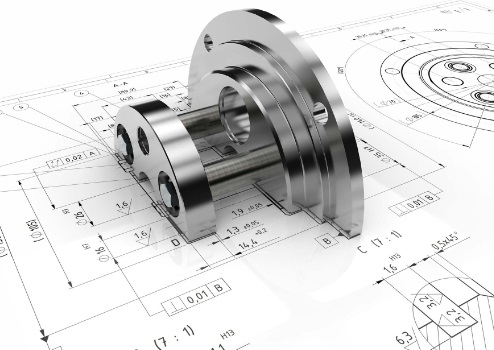
In CNC machining, tolerances are the variable range for a dimension represented as “+/-”. The CNC machine professionals determine this based on the fit, form, and function of the CNC part. The tolerance of +/- 0.01 mm in CNC machining means the machining tool is allowed to have a deviation of 0.01 mm in every cut.
When it comes to maintaining tight tolerances, here are a few tips to keep your parts in spec.
-
Spindle Warm-Up
Conduct a warm-up routine – Though this is common practice for most CNC precision machining, think about doing something a little more strenuous. A standard procedure would only warm up the spindle, which is necessary for spreading grease and preventing premature bearing wear. However, to account for thermal expansion, you must also allow the internal components to reach a steady operating temperature.
All of this is good if your only goal is to maintain tight tolerances in your Z-axis, but combining spindle warm-up with machine movement in all axes will help even more. Allowing the machine to run for 10-20 min with all components moving enables the parts to reach an optimal temperature, reducing the effects of thermal expansion during milling. Whatever you do, make sure to weigh all of your equipment at the end of your warm-up for total accuracy and holding tight tolerances.Tool selection can play a role in maintaining tight tolerances. Use your tool for the “heavy lifting” so that your finishing tool wears less and retains its accuracy.
-
Tool Selection
Choose your methods wisely – When dealing with such tight tolerances, make sure to be flexible with your tooling. You’ll want to have separate tools for roughing and finishing. Having the roughing tool to take the brunt of the wear while saving the finishing tool for just the final passes would ensure a repeatable method for making correct pieces. Until precision machining an under-dimensioned element to an exact scale, we may use gauge pins to calculate it.
-
Compensation
Compensate the tools – Because tool manufacturers aren’t flawless, they design their products to be a little more forgiving. They understand that if you’re going to create something with their tools, you’ll be much happier if the function it cuts is under-dimensioned rather than over-dimensioned. It’s similar to getting a haircut: you might take more off, but you can’t put it back on. Knowing this, make sure that the first thing you do when setting up a specific job is to dial in the actual tool diameter.
There are many methods for doing this, but the best thing is to mill a function and then use accurate tools to check the dimension – gage pins or blocks work well for this. It’s simple: if you interpolate a 0.250″ hole with a 0.236″ tool .Because of thermal growth, the temperature affects accuracy. So, be aware of your environment and the position of your unit.
-
Temperature
Thermally Stabilize – This is one of the essential items on this list for maintaining tight tolerances because it can make a significant difference that you might not even know. Take note of the location of your unit. Is it close to a window, and if so, does the sunshine on it throughout the day? Is the air conditioner turned on in the afternoon and blowing cool air into the computer cabin? Is your material stored in a hot warehouse and then transported to a chilly 68° environment?
All of these seem to be innocuous, but they may cause significant problems in your operation. Thermal expansion and contraction of the milling machine or the material cut will cause substantial variations in your Custom CNC machining. Put all of this on lockdown – keep your device and material in a temperature-controlled, sunlight-free area– and you can reap the benefits – consistency in your CNC machining services.Ball bar testing and routine system calibration can aid in maintaining close tolerances.
-
Calibration
Things will change and settle after machine installation, delivered, dropped off a truck, pushed around, leveled, and used for thousands of hours. Granite squares or the Renishaw Ballbar will assist in tightening the reins on your loosened-up rig. As part of yearly maintenance, we want to conduct a ball bar test and make changes. Linear scales improve the accuracy and consistency of a machine in maintaining close tolerances.
-
Linear Scales
If you’re still having trouble, it may be time to invest in a system with linear scales. The scale functions as a highly accurate ruler that the computer can interpret, comparing and correcting for variations all the time. It makes for a 25% tighter positioning tolerance, a 20% increase in repeatability, and an 85% reduction in backlash on CNC precision machining. These pointers can help you navigate the long, winding, bumpy (but always rewarding!) path of high-precision Custom CNC machined parts and tight tolerances.

